 |
| Figure I. Repaired microcontroller pin |
Firstly, you'll need several tools and a header pin as shown in figure 1.
 |
| Figure 1. Please ignore the motor and the strip of wire, you won't need that. |
Oh! You might also need a set of helping hands like the one in the figure below or you can get help from someone with a steady pair of hands ( I got my cousin to help and we were like 2 idiots trying to get it done ).
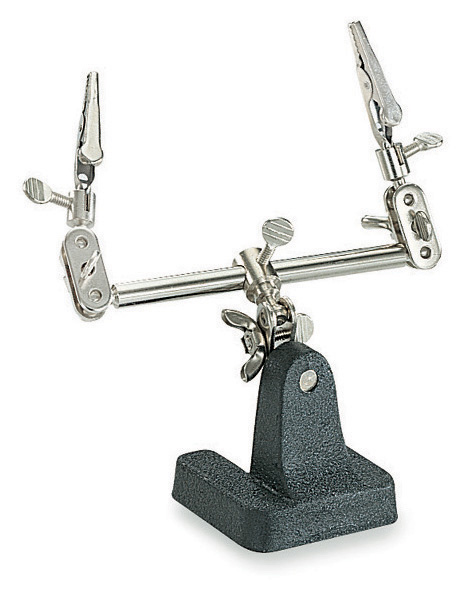 |
| Helping hands |
Now, once you've gathered all these items, use the pliers and remove the pin from the header pin stack.
 |
| Figure 2. The tuning fork looking thing is what you want |
After removing the pin, you'll need to trim it a little on the top to make it shorter and fit snugly onto the microcontroller. To do this, take the pin and place it on the broken microcontroller pin to measure the length of pin you need.
 |
| Figure 3. You should get something like this. |
Then, use the cutter part of your pliers and trim off the extras and you should get something like the one in figure 2.
 |
| Figure 4. Trimmed pin |
After trimming the pin, you'll need to solder it onto the the microcontroller pins. This is the most troublesome part because you'll need something to hold the header pin onto the microcontroller pin.
 |
| Figure 5. Header pin placed above broken microcontroller pin |
When you're satisfied with the position of the pin, its time to solder it on. Now, you'll need to know that it is very dangerous to directly heat the pins of your microcontroller because its really sensitive. So, do NOT place the soldering iron there for too long. I suggest a period of 3 seconds max.
 |
| Figure 6. Place the solder wire in the space between the fork and microcontroller pin |
Place the solder wire as shown in figure 6 and start soldering. Remember, 3 seconds max! If you do everything right. You should get something like this.
|
| Figure 7. Header pin in place and microcontroller is ready to be used again. |
Over the course of this tutorial, you may find that the pin I'm working on is different. The reason for this is because I had to test out my theory in order to demonstrate it but I only had 1 broken pin ( which is the one shown in figure 7 and I didn't want to cut a pin to risk it). Fortunately, my theory worked out right and I could share it with you.
The important thing is, don't try this unless you really have a broken pin. Don't cut the pin. Each time you repair a broken pin, you're taking a high risk in damaging it ( you'll never know how sensitive the microcontroller is ). My method is just to show you that you can save some money by using a cheap way to repair your microcontroller.
Thanks for reading! =)
Very informative and It was an awesome post. I love reading your fantastic content. Thanks for sharing it with us. We are so greatful to your sharing.Altium Designer 17
ReplyDelete